AI Image Upscaling: Best Practices for Instagram
How to upscale photos for Instagram: prep source files, pick the right AI model, resize to 1080px, and export optimized JPEGs for sharp results.
How to upscale photos for Instagram: prep source files, pick the right AI model, resize to 1080px, and export optimized JPEGs for sharp results.
4.98 /5 - from 58k reviews
Trusted by 50,000+ creators — get real engagement delivered to your profile in minutes, not days.
AI image upscaling is a game-changer for improving photo quality on Instagram. It uses deep learning to add realistic details, making low-resolution or older images look sharp and professional. For Instagram, where visuals drive engagement, this process ensures your photos meet the platform's ideal dimensions and look their best.
By combining proper preparation, the right tools, and attention to Instagram's specifications, you can create polished visuals that stand out. Pair this with growth tools like UpGrow to maximize your reach and engagement.

Instagram Image Dimensions and Aspect Ratios Guide 2025
Getting your images ready before upscaling is crucial to ensure the best results. Here’s how you can set yourself up for success.
AI upscaling works by building on the details already present in your image. If your starting file is low quality, the AI might misinterpret compression artifacts - like blocky JPEG patterns - as actual details. To avoid this, inspect your image for clarity, resolution, and sharpness. Steer clear of files that are overly pixelated or show heavy compression.
Images captured with devices like the iPhone 15 Pro or Sony A7R V often include embedded EXIF metadata, which can influence Instagram’s AI compression system. Retaining this metadata can help preserve up to 12% more detail and boost Explore feed reach by 8%. If you’re working with files from professional cameras or flagship smartphones, keep the metadata intact before upscaling.
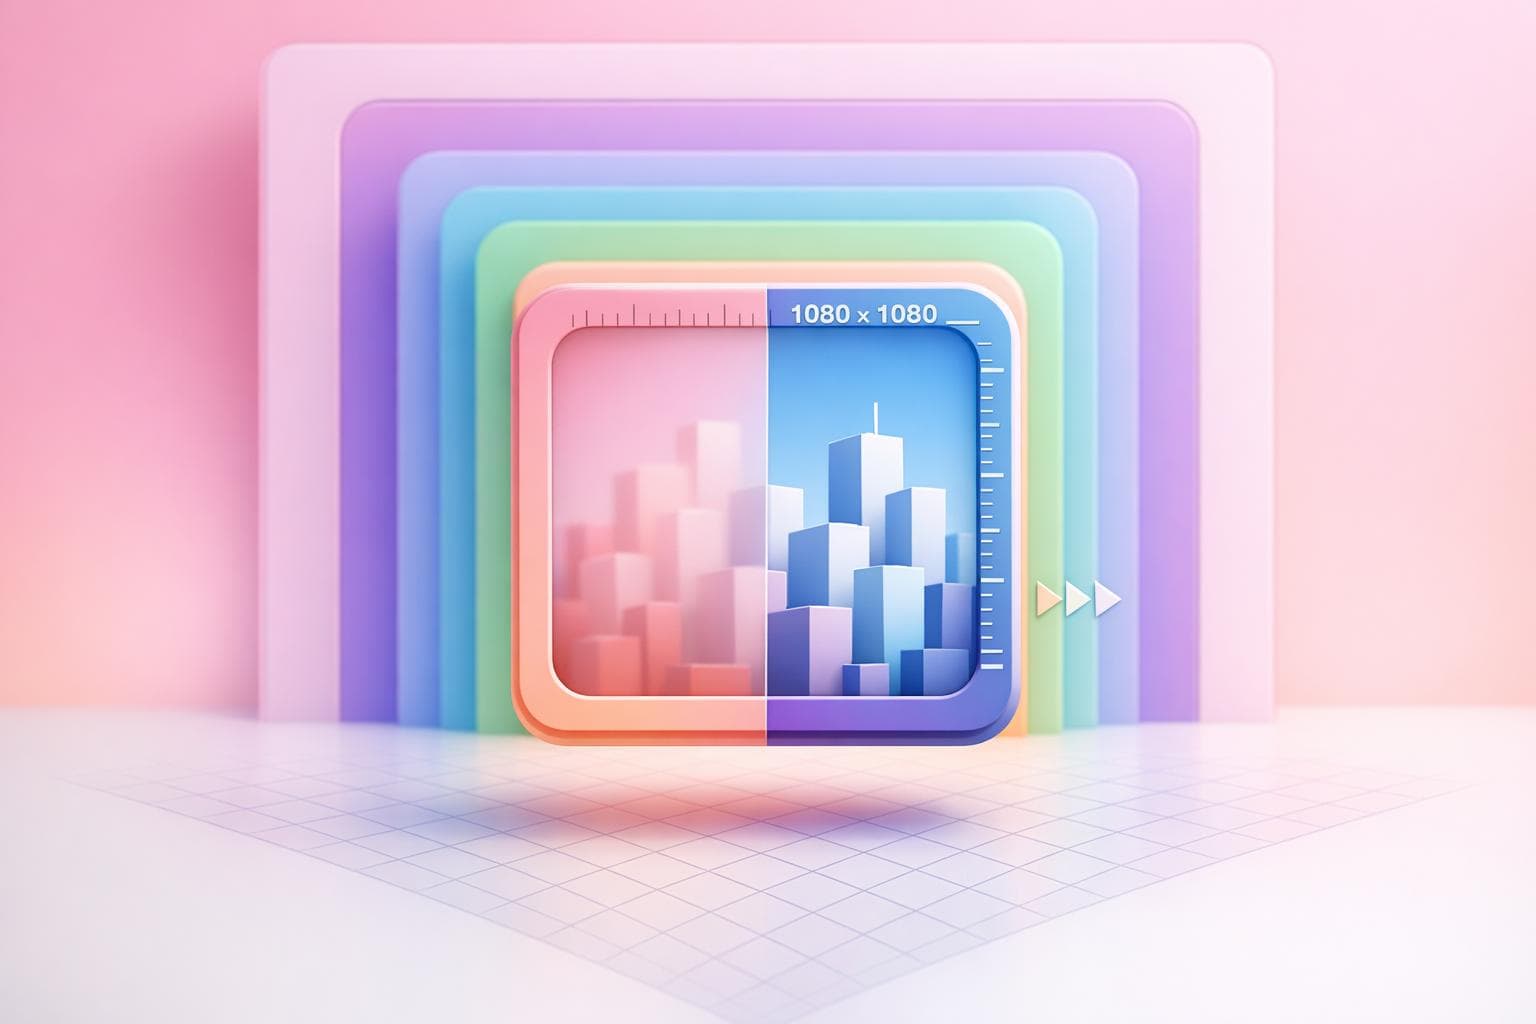
Instagram displays images at a maximum width of 1,080 pixels. Uploading anything larger triggers resizing, which can reduce sharpness—a key reason why Instagram lowers picture quality, commonly referred to as the "4K Mistake". To avoid this, aim for an upscaling target of 1,080 pixels wide instead of exceeding that limit.
Here’s a quick guide to Instagram’s recommended dimensions and aspect ratios:
| Post Type | Recommended Dimensions | Aspect Ratio | Grid Preview (2025/26) |
|---|---|---|---|
| Portrait Feed | 1,080 × 1,350 px | 4:5 | 3:4 Crop (1,012 × 1,350) |
| Square Feed | 1,080 × 1,080 px | 1:1 | 3:4 Crop (Padded) |
| Landscape Feed | 1,080 × 566 px | 1.91:1 | 3:4 Crop (Padded) |
| Stories / Reels | 1,080 × 1,920 px | 9:16 | N/A |
Since 2025, Instagram has shifted the profile grid preview from a 1:1 square to a 3:4 vertical format (1,012 × 1,350 pixels). Accounts that adapted to this change saw a 24% boost in engagement compared to those sticking with older sizing. Additionally, portrait posts (4:5 ratio) now achieve 37% higher engagement on mobile devices compared to square formats.
Stick to the sRGB color space when preparing your images. Color profiles like Adobe RGB or ProPhoto RGB often result in desaturated or washed-out colors when uploaded to Instagram. Make sure to convert your image to sRGB during the export process, especially after upscaling.
Think about the resolution you need for your specific use case. For example, aim for 1,080 × 1,350 pixels for feed posts or 1,080 × 1,920 pixels for Stories. If you’re working with very small images, consider staged upscaling - applying a 2x upscale multiple times - to maintain natural textures. Avoid creating unnecessarily large files, as they take up extra storage and processing time without improving quality on mobile devices.
The purpose of your image also affects the choice of AI model. For example, a product shot might require a model that enhances textures, while a portrait might need one that preserves facial features without introducing artificial details. Tailor your upscaling process to match Instagram’s formats for the best results.
Once your images are prepped and meet Instagram's standards, the next step is finding a tool that preserves and even enhances that quality. The right AI upscaling tool can make a noticeable difference in your Instagram workflow. Your choice should align with your content creation needs, hardware capabilities, and whether you’re working with individual images or in bulk.
Here are some key features to consider when selecting an AI upscaling tool:
"AI technology doesn't guess - it generates. Because the model was trained on millions of high-resolution images, it learned what details typically appear in different types of images." - Julia Martins, RunwayML
By focusing on these features, you can ensure your images are not only upscaled but also polished to perfection.
After choosing an upscaling tool, the next step is integrating it into your Instagram growth strategy. While AI upscaling elevates your image quality, UpGrow’s AI-powered growth service ensures those images reach the right audience. By combining high-quality visuals with smart targeting, you can maximize both engagement and reach.
Here’s how UpGrow helps:
With UpGrow’s 24/7 Instagram-compliant growth strategy, your professionally enhanced visuals are showcased to the right audience, building an authentic and engaged community. Combining polished content with targeted growth is a game-changer for creating a strong Instagram presence.
The first step is figuring out how much to upscale your image to reach 1,080 pixels wide. For instance, an image that's 540 pixels wide needs a 2× upscale to hit 1,080 pixels. If your starting point is 270 pixels wide, you'll need a 4× upscale to achieve the same result.
Stick to an upscale factor between 2× and 8×. Going beyond 8× can lead to the AI generating details that don't actually exist. If a 4× upscale makes your image look overly artificial - like giving skin a "plastic" texture - try using a 2× upscale twice instead. This approach often results in a more natural look.
Keep in mind that upscaling increases file size. Platforms like Instagram have file size limits: 8 MB for feed posts and 4 MB for Stories. If your file exceeds these limits, you'll need to compress it, which can reduce image quality. Finding the right balance between upscale factor and file size is key to maintaining quality.
AI upscaling doesn't just stretch pixels; it analyzes patterns to reconstruct details like skin, hair, and fabric textures. However, this process isn't foolproof - AI can sometimes "imagine" details that aren't actually there. Starting with high-quality RAW or PNG files helps the AI do its job more accurately, as JPEG files often contain compression artifacts that can become more noticeable after upscaling.
"Interpolation stretches the image, whereas AI understands and recreates the details."
- Yatharth Gupta, Portrait and Travel Photographer
Choose the AI model that best fits your subject. For portraits, opt for models designed to enhance facial features realistically. For landscapes or detailed product shots, use models that excel at preserving intricate textures. If the upscaled image makes skin look unnaturally smooth, adding a light layer of film grain in your photo editor can bring back a more realistic texture. Always inspect your work at 100% zoom, focusing on high-contrast edges to spot halos or over-sharpening artifacts.
Once you've fine-tuned the upscale factor and ensured textures look natural, use an Instagram post optimizer to check the final quality. Instagram's compression algorithm can be harsh, especially on high-resolution images. Uploading a 4K image, for example, often triggers Instagram's resizing process, which can cause blurring and pixelation. To avoid this, resize your upscaled image to exactly 1,080 pixels wide before uploading. This simple step bypasses Instagram's resizing tool, preserving the sharpness of your image.
"Instagram only displays 1,080px. If you upload 4,000px, Instagram's resizing tool kicks in, and it does a terrible job, resulting in blur."
- PixelBatch
Before posting publicly, test your image quality with a private upload. Take a screenshot of the uploaded image and compare it to your original to identify any quality loss. Pay close attention to gradients, like skies, where banding artifacts can appear. Adding a subtle layer of noise can help smooth out these issues. For Stories and Reels, remember to keep key elements - like text or faces - within the central 1,080 × 1,350 pixels to avoid interference from Instagram's UI elements.
After upscaling an image, giving attention to resizing, compression, and file format choices can make a noticeable difference in how your content performs on Instagram.
To avoid Instagram's automatic resizing - which can lead to blurriness - export your upscaled image at exactly 1,080 pixels wide. Start by adjusting colors and filters, cropping to the desired aspect ratio, and resizing to 1,080 pixels wide. Then, apply a light sharpening filter, such as an Unsharp Mask with a radius of 0.5–1.5 pixels. Once that's done, compress and export the image, aiming for a file size between 500 KB and 2 MB to balance quality and upload speed.
For compression, tools like TinyPNG or JPEGmini are excellent for reducing file size to around 1.5 MB without noticeable quality loss. Adding a slight grain effect can also help smooth out gradients and prevent visible banding artifacts.
For most photographs, exporting as a JPEG with a quality setting between 80% and 90% is your best bet. While Instagram converts all uploads to JPEG or WebP, starting with a high-quality JPEG helps minimize any aggressive compression on their end. For graphics with text or sharp edges, consider using PNG, but keep in mind that PNG files are larger and may trigger heavier compression if they exceed 2 MB.
Always export your images using the sRGB IEC61966-2.1 color profile. Instagram's conversion process can dull colors, especially if your image was shot in Display P3 or Adobe RGB, so sticking to sRGB ensures your colors stay vibrant.
Once you've optimized the dimensions and format, test Instagram's compression to see how it affects your image. Upload your image to a private or secondary account first, then compare screenshots of the original and uploaded versions. This will help you spot any quality loss. Be sure to check the image on different devices, as Instagram's rendering can vary depending on the platform.
Also, ensure critical elements like text or faces remain within Instagram's "safe zones." For the grid, keep important details within the 3:4 crop area. For Stories and Reels, make sure essential elements stay within the 1,080 × 1,420 pixel central zone to avoid being obscured by interface elements.
To fine-tune further, upload multiple versions with slight variations in export quality or sharpening levels to see which one looks best. Perform all edits, sharpening, and color adjustments in external tools like Lightroom or Snapseed, as Instagram's in-app editing can introduce extra compression that reduces image quality.
Incorporating AI upscaling into your workflow can save you time and help maintain a professional-looking feed.
Instead of upscaling images individually for every post, consider batch-processing your entire content calendar. Many AI upscaling tools allow you to handle multiple images at once, freeing you up to focus on creating engaging content.
In May 2025, lifestyle content creator Rohit used Photoshop's Image Processor and Adobe Express platform presets to optimize his workflow. By batch-processing his Instagram photo stories, he cut down the time spent resizing and upscaling images from hours to just minutes. The AI-driven tools ensured his photos maintained consistent color tones and proper subject alignment.
Before committing to a full month of content, test 2–3 sample images to fine-tune your settings. Group similar images - like portraits and landscapes - together for more precise results. Always keep your high-resolution master files stored separately, so you can revisit and reprocess them as AI technology evolves.
"After implementing batch processing for our online catalog, what used to take our team three days now takes four hours. The time savings alone covered the cost of our subscription within the first month." – Marco Sanchez, E-commerce Director
This approach not only speeds up production but also lays the groundwork for using these enhanced visuals with growth-focused strategies.
Once your content workflow is streamlined, amplify your reach by pairing high-quality visuals with effective growth strategies. Exceptional visuals deserve strategic promotion. Tools like UpGrow can help transform polished images into a growing, engaged audience.
UpGrow combines AI-powered targeting with human expertise to connect your content with users who are genuinely interested. A polished and consistent feed enhances the impact of UpGrow's strategies, such as AI-driven targeting based on location, age, gender, and language filters. The platform’s real-time analytics dashboard helps you track which types of upscaled content perform best, letting you refine your approach over time. Starting at $39/month, with a growth guarantee that ensures results or your money back, UpGrow offers a straightforward way to turn improved image quality into measurable follower growth.
AI image upscaling can transform your Instagram feed by focusing on quality. The process starts with using high-resolution source files, as AI tools rebuild details instead of just enlarging pixels.
Choose the right upscale factors to preserve natural details, and always preview your images at 100% magnification to spot any distortions before posting. Make sure your final image dimensions align with Instagram's specifications.
Batch-processing is a great way to save time while maintaining a unified visual style. Incorporating these techniques is a key step toward creating a polished and professional Instagram presence.
Once your visuals are perfected, amplify their impact with tools like UpGrow. Its real-time analytics dashboard helps identify which types of upscaled content resonate most, while its AI-powered targeting ensures your images reach the right audience. Starting at $39/month, UpGrow offers a simple way to turn your enhanced visuals into tangible follower growth.
When preparing an image for Instagram, it's better to crop first and upscale later. Cropping initially lets you zero in on the most important parts of the image, making sure the composition aligns with your vision. Once that's set, upscaling improves the resolution while keeping the quality and framing intact for your final post.
To keep AI upscaling from making faces look unnatural, choose models specifically designed to preserve skin texture and fine facial details. Fine-tune the enhancement settings to focus on retaining texture, steering clear of overly aggressive smoothing. This approach ensures a more natural look while avoiding the over-smoothing or distortion of facial features.
When you upload photos to Instagram, they can sometimes look blurry. This happens because Instagram compresses and resizes images to fit its standard width of 1080px. If your original photo has a much higher resolution, this resizing can strip away some of the finer details. To avoid this, make sure your images are resized and optimized to match Instagram’s resolution standards before posting.
Share this post


